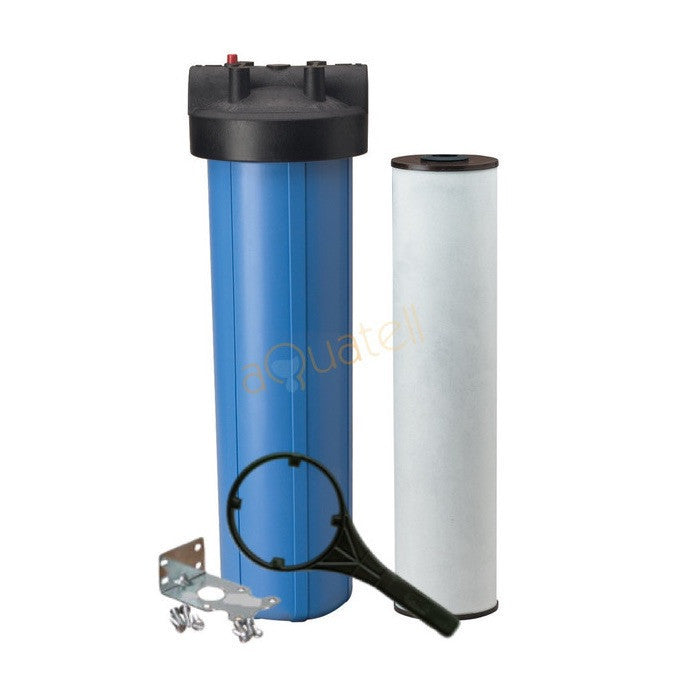
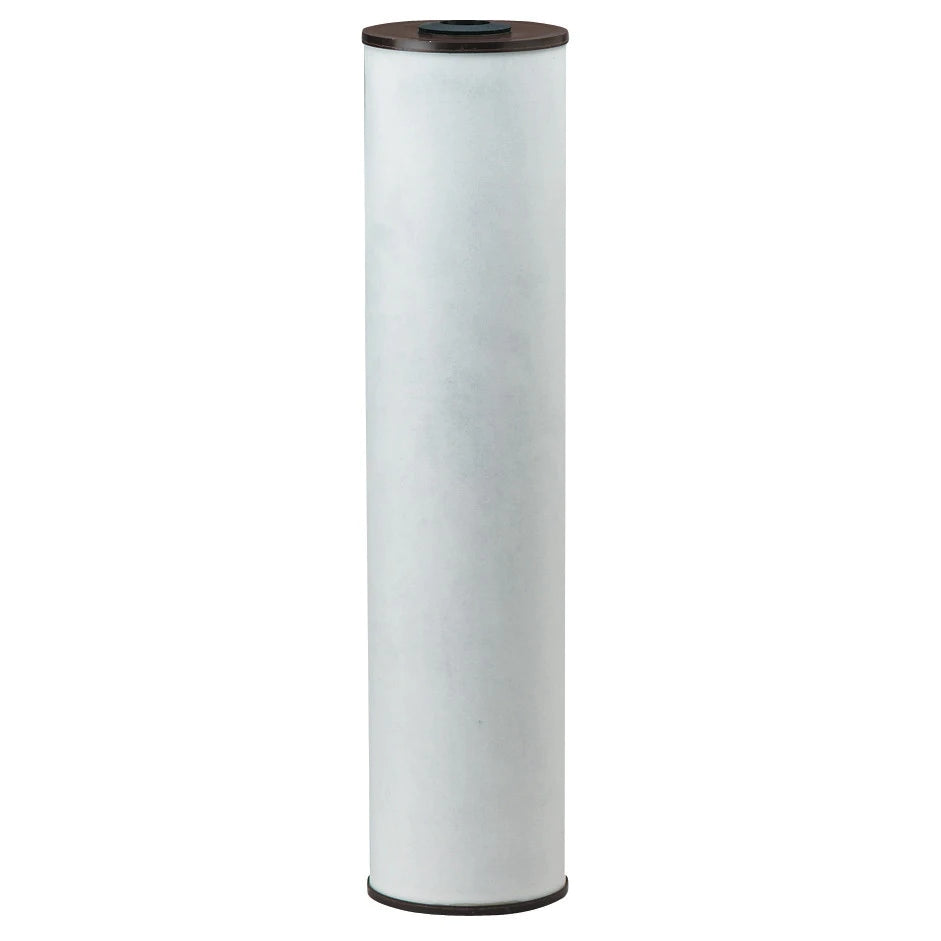
Free shipping on orders over $150

0

Your Cart is Empty

SHOP
  • Take The SOFTENER FINDER Quiz

  • AIO Iron Filter Setup & Programming

    July 04, 2018 5 min read

    Here are the instructions for your Aqualux AIO Backwashing Filtration Systems. These instructions apply to the AIO Iron Water Filter by Aqualux & AIO Iron & Sulphur Water Filter by Aqualux.

    There are several steps to the proper installation and setup of your system:

    • finding a suitable location
    • plumbing
    • programming
    • startup

    Location

    There are a few things to consider when finding a location for your AIO system:

    • it should be on level ground
    • it needs to be protected from the elements
    • it should be located within 30 feet of a floor drain, or other suitable drainage location
    • it should be located within close proximity to the installation location (for urban dwellers it will be installed on the pipe the exits the water meter, and for rural dwellers on the pipe that exits the pressure tank)

    Plumbing

    There are three connection points to the AIO system - the raw water inlet, treated water outlet, and the drain line port. A bypass valve is included with your system. The bypass valve attaches to the control valve. The inlet/outlet plumbing is attached to the connectors that exit the bypass valve. The image below shows the bypass valve installed, and with the handles turned in the bypass position. In this position even when the plumbing has been attached, no water will flow to the filter system. This is the position you want the bypass handles in when you begin the installation of your system.

    5810SXT_in_Bypass-min.jpg

    The drain line port is also shown in this image. The barbed fitting that comes with your system will receive tubing with an inside diameter of 1/2". We suggest that you use a gear clamp to secure the tubing to the barbed fitting. Most customers find that clear vinyl tubing available at most hardware stores works the best. There are a few things to keep in mind with the drain line:

    • be sure that the tubing is positioned so that it doesn't kink over time
    • the drain line cannot freeze or it will interfere with system performance
    • the flow of water from the drain line can be quite high (up to 5 gpm for some systems) so be sure that the drain location you choose can receive this flow of water
    • be sure to secure the end of the drain line so it does not move during backwash
    • the drain line can be routed up to 5 feet above the system control valve as long as household pressure is good
    • the drain location can be up to 30 feet away from the filtration system
    • in some cases (where household pressure is very strong) the drain location can be further away, but the drain line diameter should be increased to 3/4" inside diameter to reduce pressure loss
    • the AIO system maintains an air pocket inside the treatment tank. When the system backwashes, it first discharges this air pocket through the drain line. Make sure your drain line is not hard-plumbed to your drainage system. The discharged air pocket must be able to escape to the atmosphere.

    Your AIO system comes with a variety of plumbing fittings that should make for easy plumbing to your existing plumbing lines. We include plumbing fittings that terminate in 1" male threads, and fittings that terminate in 3/4" push to connect ports. Since all plumbing is different, and plumbing codes vary from region to region, please consult with local authorities to ensure the technique you decide upon meets local plumbing codes.

    Programming

    Before the system can be programmed, it needs to be plugged in. Plug the outlet end of the power adapter into a standard 110V outlet. The other end of the power adapter is plugged into the system control valve - it's not easy to find! The receptacle for this end of the power adapter is located on the underside of the 'timer assembly' for the control valve:

    AIO control valve power connector

    The timer assembly is the upper portion of the control valve that houses the display and the buttons. If you follow the face of the control valve down from the buttons, you come to the bottom portion of the timer assembly which overhangs the mechanical valve. While facing the control valve, use your right hand with the palm facing upwards and you will feel an opening on the underside of the right side of this overhang. This is where the power adapter plugs in.

    For the programming of your system, here are the buttons you'll need to use. The "Next Cycle" button is used as the enter button as you go through the programming:

    Aqualux-ProSoft-Buttons.jpg

    Use the Up / Down Buttons to scroll through the values at each stage of the programming. The "Next Cycle" button is used as the "Enter" button.

    Enter the Master Programming Mode:

    • set time to 12:01 pm by pressing and holding the up or down arrow until the clock starts to move. When clock gets to 12:01 pm ("pm" must be visible on the screen) press Next Cycle
    • press and hold both arrows at the same time until you see DF on the screen


    Select the following values using the arrows, and enter them using the NEXT CYCLE button:

    DF = GAL
    VT= 5800
    RF = df1b
    CT = tc
    DO = 3
    RT = 2:00 am is default regen but can be set to any time you want
    BW = 14
    BD = 40
    RR = 4
    BF = off
    RE = OFF

    Once this process is complete you'll need to set the clock by pressing and holding the UP or DOWN arrows until the clock starts to move. Please note that PM is displayed on the screen but AM is not. Once the time of day is correct, press and hold the NEXT CYCLE button to enter it.

    Startup

    Once the system has bee programmed you're ready to start it up. Ensure that your home water is turned on, and open the bypass handle on the inlet side of the bypass just a crack. You should hear water begin to fill the tank. Allow the tank to slowly fill for a few minutes and then open the bypass handle halfway to finish filling the tank. Once the tank is completely full (you won't hear any more water flow) close the bypass and allow the media to soak for at least two hours. This allows the media to absorb water and sink.

    Once two hours has elapsed, ensure no water is flowing in the home, and fully open both handles on the bypass valve.

    Immediately force a backwash by pressing and holding the NEXT CYCLE button until the control valve motor starts to engage. At this point release the button and allow the control valve to take the system through a full backwash.

    Use this first backwash as a way to ensure that you have no plumbing leaks and that your drain can receive the flow of water from the system.

    Once the backwash is complete your system is fully ready to use!